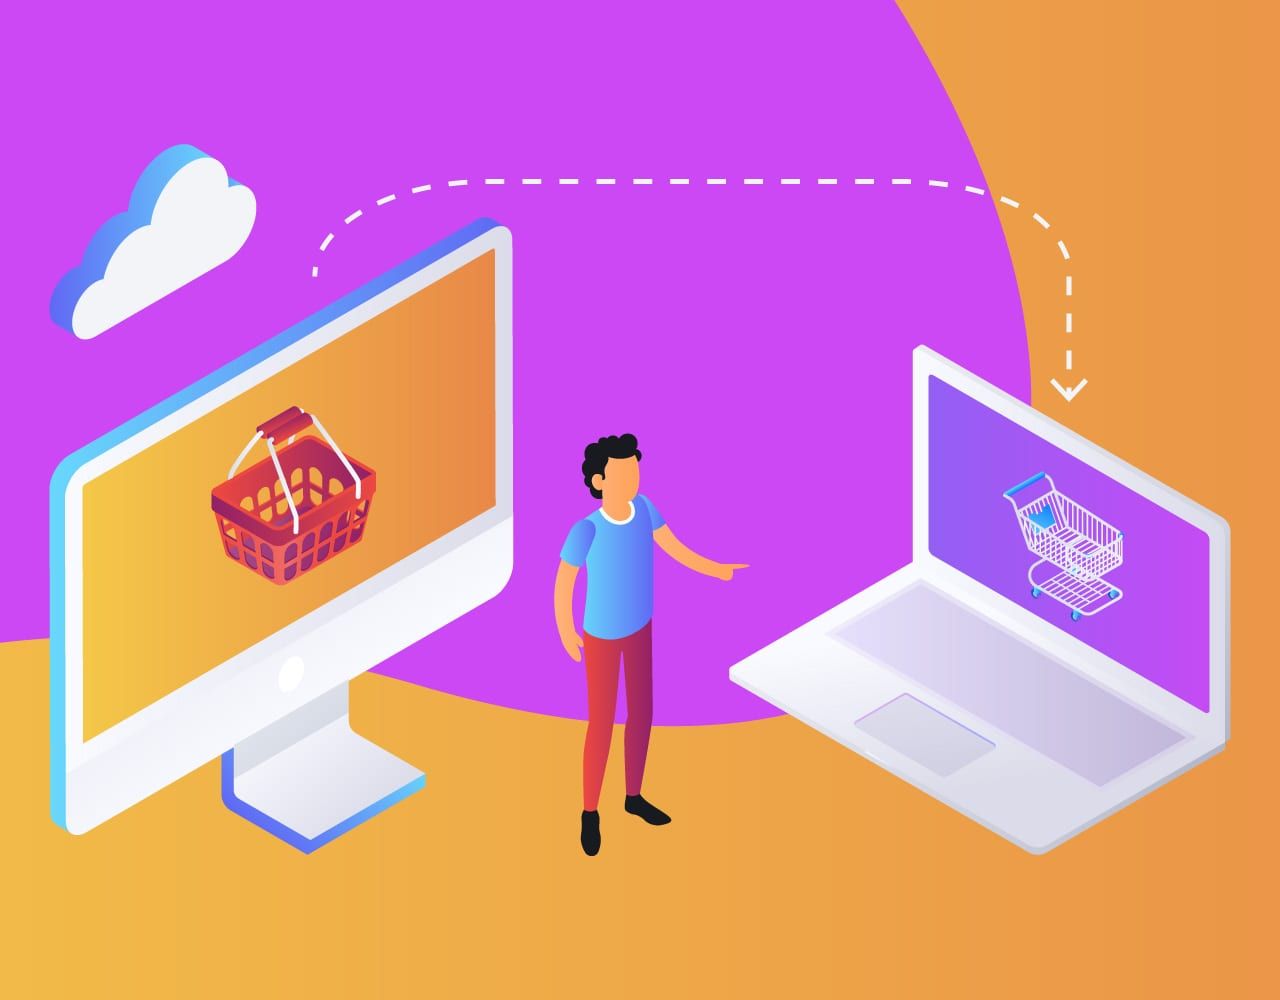
How to Migrate from Adobe Commerce to WooCommerce: A Step-by-Step Guide
March 9, 2020
The Bolt Team

Migrate your ecommerce store from Adobe Commerce to WooCommerce seamlessly and quickly with this guide.
A complete ecommerce store migration is a large undertaking. You will need to ensure you fully migrate your data without losing anything. The more you are able to migrate over, the less you will need to rebuild.
Learn how to migrate Adobe Commerce to WooCommerce step-by-step so you don’t miss a thing:
- Pros and cons of switching to WooCommerce: things to consider
- Preparing to migrate from Adobe Commerce to WooCommerce
- How to migrate from Adobe Commerce to WooCommerce
- Migrating from Adobe Commerce to WooCommerce using Cart2Cart
- 3 best tools to migrate from Adobe Commerce to WooCommerce
We’ll get into the specifics of how to migrate shortly. First, let’s cover the pros and cons of switching and compare the two services so you can determine if the switch is best for you.

Bolt One-Click Checkout
Start treating millions of shoppers like returning customers and make their checkout easier than ever.
Try Bolt TodayPros and cons of switching to WooCommerce: things to consider
WooCommerce is one of the leading ecommerce platforms by popularity, relied on by many online retailers. A CMS market share analysis showed that WooCommerce is nearly three times the size of Shopify.
As an open-source tool, WooCommerce offers unlimited customization potential. With full control over site customization, you have the flexibility to bring your vision to life. With the ability to access, copy, modify, and change source code, you can freely design your ecommerce site how you want.
Both WordPress and WooCommerce are free to download and use. However, you will be responsible for your own domain name, hosting your site, and getting extensions that offer advanced features. This can be a great way to get additional features while controlling your budget.
Below are the main pros and cons of using WooCommerce:
WooCommerce pros:
- Easy-to-use for those without any coding or technical experience; suited for beginners
- Based on the WordPress platform, there are numerous customization options that let you control your design, layout, and formatting
- A variety of extensions are available that can enhance the features of your software; easily installed, set up, and managed
- As an open-source tool, the main service is free to use; pricing will come down to how many paid plugins you need to get all the features you want
WooCommerce cons:
- No dedicated customer service; rely on large community for developer advice and support
- Need to have some knowledge of both platforms (WordPress and WooCommerce) to manage migration properly
- You will likely need to use plugins to get the features and performance you want for your store (most of which will be paid)
- The more plugins you have, the slower your site performance will be and the more tasks you will need to manage
- If you plan on building a robust site, you will need a specialized ecommerce site developer
A comparison: the main differences between Magento (now Adobe Commerce) and WooCommerce
Identify the main differences between the ecommerce platforms, comparing the features of each. If you are looking to save money on your ecommerce site and have full control over customization, WooCommerce is a great fit for you.

Preparing to migrate from Adobe Commerce to WooCommerce
Before we get into the migration steps, we’ll cover a few things you should do before migration that will make the process easier, ensure accuracy, and help you make your decision.
While WordPress and WooCommerce are both free services, there is more involved in running your site. As an open-source tool, you do not have certain things included, and will need to purchase them separately:
- Domain name ($10 – $20 on average a year; depending on domain)
- Domain hosting ($5 – $25 monthly; but can go much higher for more unique services)
- Design themes ($40+ per theme; free templates sometimes available, but often require attribution)
- Plugins / extensions (subscription based fees; some free plugins with limited services available)
- Developer fees ($20 – $150 per hour depending on the quality of the developer and difficulty of the task)
Always keep these in perspective and consider the big picture. Balance what you can afford with the needs of your business. Improve features as you need them, scaling efficiently rather than overextending. WooCommerce’s open-source tool gives you control over which features you add through plugins, helping you balance your budget and get the features you truly need.
Install WooCommerce to WordPress
You may already have WooCommerce installed on your WordPress dashboard. If that’s the case, you can skip ahead.
Before we dive into the steps for store migration, let’s make sure you have everything ready to go. Installing WooCommerce to WordPress is very easy and will take little time.
From the WordPress admin dashboard, find “Plugins” along the left column. Click “Add New.”

Using the Search bar along the top right, type “WooCommerce” and begin a search.

You should be able to find the plugin in the plugins marketplace. From there, click “Install Now” to download and install the WooCommerce plugin.

The plugin will install, which will take some time to process. After the installation is complete, click “Activate,” turning the plugin on.

This will take you to another setup page, where you can configure your store settings. Follow the instructions to set your store up properly. Once completed, you can migrate your Adobe Commerce data to your WooCommerce store and get back to selling on your new store.
Choose a hosting plan
Although you can get both WordPress and WooCommerce for free, this means website hosting will be a separate cost. When thinking about website hosting, consider the following:
- How many websites and pages are you running from a single server?
- What level of security is provided by the host and how much liability do they assume?
- How good is customer service and is it available when you need it?
- How much uptime does the server average?
- Will the service scale to match traffic; can it handle influxes in traffic?
Website hosting prices can differ significantly, starting as low as $3.99 a month and going higher than $5,000 for customized, enterprise level plans. Pricing depends on how much data you have on your site, how much traffic your site receives, and the flexibility you require at peak times. Start with a smaller service for a small business, and scale up as you need. Many hosting services have free trials so you can decide if it works for you.
WooCommerce and WordPress recommend SiteGround, Pressable, and Bluehost for first-time users. These services are designed to meet the base performance you need. For a larger ecommerce store you will likely need a team with experience.
Compare the more popular web hosting services below:
Host Provider | About / Features |
---|---|
SiteGround | Great customer support High-quality performance that meets traffic needs Competitive pricing Set up for WooCommerce out of the box SSL Encryption available to keep site secure PCI compliant servers Easy to use and manage, for beginners and experts alike |
Bluehost | Officially recommended by WordPress Affordable WooCommerce plans Ready for installation and operation out of the box SSL certificate keeps customers safe on your site Dedicated IP address to manage your site from Free online setup call to have you up and running seamlessly |
DreamHost | WordPress dedicated hosting with services designed specifically for WooCommerce WooCommerce and Storefront pre-installed for out-of-the-box use Performance that scales to handle traffic spikes and attempts at hacking VaultPress automatically backs up information SSL certificate secures site for customers |
Liquid Web | WooCommerce comes ready for installation out of the app; with the Storefront and Astra Pro theme Comes optimized for mobile Free SSL certificate to keep store data safe Includes additional plugins, such as IconicWP and Beaver Builder page builder for enhanced capabilities Experts available to help with store setup Can get automated PCI compliance scans to ensure you meet standards |
Kinsta | Powered by Google Cloud Platform, it is a premium hosting service It’s cloud infrastructure is designed to handle ecommerce sites and deal with traffic surges Designed to be optimized for speed, the tool is easy to use and transfers quickly Multiple backup options to ensure data is stored safely in the event of data loss Free SSL certificate to ensure customers have a safe experience Full service, 24/7 support with automated uptime checks to ensure fast site speed |
WP Engine | Premium managed hosting designed to handle high traffic sites SSL certificate included to ensure customers can shop safely Integrated CDN so that it operates fast globally Staging environment built-in that allows you to test store before publishing Automatic backups keep data safe in the event of a loss Genesis framework of tools included, offering enhanced features and design capabilities |
Pantheon | Powered by Google Cloud Platform, it can handle high levels of site traffic Faster performance with monitored uptime Global CDN helps pages load fast Dev, test, and live environments so you can test pages before they go live Domain renewed and managed by Pantheon team |
Design your site
Before you migrate your store, search for a theme template that will suit your business, functionality, and style needs. You can search themes on the WooCommerce Theme Store first, as they come designed to work great with your WooCommerce site.
Since WooCommerce is open-source, you are not limited to these templates, as you can find templates designed by others and can have one developed custom for you. Search templates by industry, product type, features, and more to find exactly what you need.
In some cases, you can migrate some of the design from your old site over, but it’s a good idea to do a redesign when you are already migrating your store. Doing this all at once will save you time, effort, and future planning. Templates can be downloaded, uploaded to your site, and customized to have your products and fit your brand in the WordPress Customizer.
Back up your Adobe Commerce store
You should back up your Adobe Commerce store before migrating store data. This will ensure that your store data is secure in the event that there is an issue with the migration.
You can backup your Adobe Commerce store data by following the below steps:
Sign in to your Adobe Commerce admin dashboard and click “Systems” along the left sidebar.

Click “Backups” under the Tools heading. This will take you to the Backups page, which lets you view records for your backups.

After this, you will have two different options. Click the type of backup you are trying to create:
- System Backup: Creates a complete backup of the database and file systems. Include or omit the media file in the backup as you prefer.
- Database and Media Backup: Creates a backup of only the database and media folder.
- Database Backup: Creates a backup of only the database.

You will advance to a confirmation screen, where you will be told that the process may take time.
PRO TIP: Make sure your store is in maintenance mode while backing up your store. Click the box to turn “Maintenance mode” on when the backup starts (this setting will be automatically turned off after the migration is completed).
Label your backup by adding a “Backup Name,” which will help you organize and retrieve your backups. This is especially true if you have a wide selection of data and backups. We recommend including a date in the name (in whichever format you think is ideal) to make it easier to find the backups when you need them.
You can omit the media folder from the backup by clicking the “Exclude” checkbox.
After making your selection, click “Ok” in the upper right corner to advance.

You can access backups from the Backups page, where all previous backups are listed. Deleting a record from the list will also delete the archive file, so be cautious when removing backups.
How to migrate from Adobe Commerce to WooCommerce
Now that we have accounts set up on both platforms and our Adobe Commerce store data backed up, we can choose how we will migrate store data. There are a few different ways to migrate data from Adobe Commerce to Shopify.
- Manually migrate store data
- Use a data migration app
- Hire a professional
1. Manually migrate store data
Manually export data from Adobe Commerce
Adobe Commerce has their own User Guide for migrating data. We’ve compiled the steps here so that you can do it now and continue with the rest of the migration.
Go to your Adobe Commerce admin dashboard. Along the sidebar, click “System.” Under the heading for Data Transfer, click “Export.”
You will then advance to the Export Settings section. Set the “Entity Type” by choosing an option from the drop-down menu:
- “Products”
- “Customers Main File”
- “Customer Addresses”
For the CSV file, select the default “Export File Format.”
Click the “Fields Enclosure” checkbox (so the box is checked) to enclose special characters that may be found in the data as an escape sequence.

You are also able to adjust how the entity attributes are displayed on the Entity Attributes setting screen. The entity attributes will be in alphabetical order by default, but can be reordered. You can sort the list using standard grid controls, or search for a specific attribute directly. Note that the Search and Reset filter options only control the way the list is displayed, and do not actually impact the attributes that are exported in the file.

Attribution values can be used to filter exported data as well.
You can export records with specific attribute values by entering the value in the Filter column. You can then export data that matches only that attribute value.

Remove attributes from the export by clicking the “Exclude” checkbox, found at the beginning of the row that you are trying to remove. Removing the checkmark will not completely remove that attribute from the export file, as those columns will still populate. However, the attribute values in those columns will be blank.

After making the filtration and exclusion choices you want, you can advance by scrolling to the bottom and click “Continue.”

The exported file will end up in the download folder of your file explorer. Access it from your file explorer to save it as a spreadsheet. This will give you the ability to edit the data so it can be imported to your store correctly. Depending on your settings, you may receive the file as an email to the account associated with your Adobe Commerce account.
Manually import data to WooCommerce
From the WordPress dashboard, access your WooCommerce store by clicking “WooCommerce” along the left sidebar. Next, choose the types of content that you wish to import. To show you the process, we will use products. Click “Products” to import products.
PRO TIP: You will need to repeat the below process for each type of content you are importing, including orders, products, and customers. Choose the type of entity you want to import and repeat the steps for each.
Click “Import” along the top menu. You will then use the built-in product CSV importer to help you process the import extremely easily.

Next, click “Choose File,” which will bring up a window. Choose the CSV that you are trying to import (in this case, this is the product CSV file), and advance by clicking “Continue.”

This will bring you to the Column Mapping screen. WooCommerce automatically matches the column names according to the CSV file you exported from Adobe Commerce. You should still double check that these columns loaded properly and that the values were transferred in the right columns as well. You can use the drop-down menus to the right of the rows to manually adjust the columns.
Finally, you can click “Run the Importer” to start the import process. The import will process, which may take time. Once the import has completed, you can then repeat the steps for each data type that you need to migrate to your new store.

Repeat the steps above for customers and orders.
2. Use an import app
Manually importing and exporting data is a time-consuming process that can be complicated and challenging sometimes. Luckily, there are migration apps that will facilitate and streamline the migration process for you. You can often complete the process in a few, simple steps that are more easy to follow than the manual migration process.
We’ve listed some of the best Adobe Commerce to WooCommerce migration apps available later on, so you can compare tools and choose an ideal solution.
We also break down how to migrate from Adobe Commerce to WooCommerce using Cart2Cart, so you have an idea of how a migration tool would work and the steps involved.
3. Get a professional to migrate store data
If manually migrating data and using an import app seem too challenging for you or exceeds the time you have to dedicate to the job, you can hire a professional to do it for you. If you have a developer on-hand, you can get them to do the migration. You can also hire a third-party team to handle the migration; just ensure you clearly outline what you want out of the migration so they can facilitate what you need.
With experience coding and knowledge of these systems, they will likely be able to do a high-quality job in a shorter amount of time. This will allow you to put the migration on the back of your mind and focus on other advancements. As the job will likely be done faster and require less fixes, you will likely save on labor costs and run into less problems.
Migrating from Adobe Commerce to WooCommerce using Cart2Cart
Once logged in to the Cart2Cart site, choose the Source Cart to be “Adobe Commerce.”

In the area below for the Target Cart Setup, set the Target Cart to be “WooCommerce.”

Next, you will choose all the entities you want to migrate under “Select entities for migration.” To migrate your whole store, you will select all entities. Once ready, click “Next” to proceed.

The migration will then begin; this will take some time. Wait until the migration is complete.

After the migration is over, you will get a results summary. This will show you if there were any errors in the migration. Verify that all entities were migrated properly.

3 best tools to migrate from Adobe Commerce to WooCommerce
Using a data migration tool is a great way to migrate your ecommerce store, as it will facilitate much of the process for you and make it accessible, simple, and convenient. Below are a few of the best applications for migrating from Adobe Commerce to WooCommerce.
1. Cart2Cart

Transfer products, customers, orders, categories, and more to limit the amount you’ll need to reconstruct. Cart2Cart uses an extremely easy-to-use interface that breaks the process down into three accessible steps.
Cart2Cart allows you to perform the migration with little to no technical experience, and will typically transfer within a couple hours. This fast, simple method makes migrating from Adobe Commerce to WooCommerce simple for beginners without coding experience.
Best used for: Easy-to-use, automated data migration
2. LitExtension

LitExtension is a migration app that will automate data migration from Adobe Commerce to WooCommerce. Focused on security and accuracy, you can rely on their tool to offer a protected transfer process with high-quality results. They understand that data loss and inaccuracy take away from the benefits of migration, making it a wasted effort.
Transfer data in three simple steps with no coding experience needed. LitExtension guides you through the process and facilitates a smooth, fast, efficient data transfer. Simply select the types of data you want to migrate (product, customer, order, and more) and start the process.
Best used for: Secure, reliable data transfer
3. FG Adobe Commerce to WooCommerce

Migrate all product data with the free version of FG Adobe Commerce to WooCommerce. Compatible with Adobe Commerce versions 1.3 to 2.3 and WordPress 5.3, FG makes migrating data easy to do by walking you through the process. The tool does most of the migration process for you.
The free version will migrate products, but only paid versions will migrate customers and orders. As a WordPress plugin, it works great for migrating with WooCommerce, which also runs on WordPress. It is also compatible with multisite installations, in case you are migrating multiple sites at one time.
Best used for: Free product migration; accessible migration for WordPress integrations
Once the migration is complete, you can start selling on your new store! Hopefully this helped you decide if switching from Adobe Commerce to WooCommerce is right for you and helped you understand and carry out the migration process. Add a few final touches to perfect your store, but you are now ready to sell.
With your ecommerce store fully migrated to WooCommerce, you should consider offering customers the best checkout experience possible. Bolt’s checkout experience platform offers a mobile-optimized, streamlined checkout experience with fraud protection-built-in. Our world-class checkout design is convenient and streamlined, offering a checkout twice as fast as competitors. We are so confident in our fraud detection and prevention that we also offer a 100% fraudulent chargeback guarantee.